Table Of Contents
Step-by-Step Cleaning Process
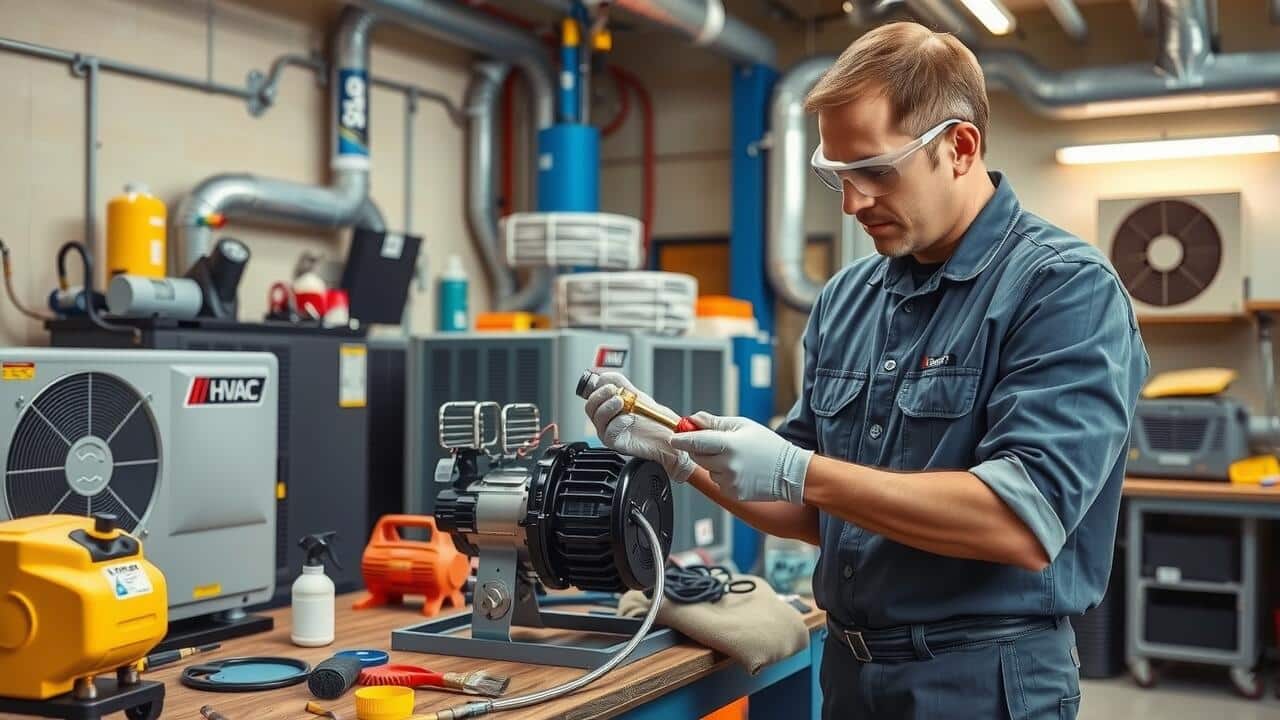
Before starting the blower motor cleaning, ensure you have the necessary tools and materials ready. Gather a soft brush, vacuum with a hose attachment, mild detergent, and a soft cloth. Turn off power to the heating, ventilation, and air conditioning (HVAC) unit to prevent any accidents. Remove the access panel to reach the blower motor. Take care to keep track of any screws or clips, as they will need to be reattached later.
Begin cleaning the blower motor gently. Use the soft brush to remove dust and debris from the motor and surrounding area. The vacuum can help clear out any loose particles. If the motor has accumulated grime, a damp cloth with mild detergent can assist in deep cleaning. Allow everything to dry thoroughly before reassembling the components. Once the blower motor is clean and dry, reattach the access panel and restore power to the HVAC system. Regular blower motor cleaning can enhance system efficiency and extend its lifespan.
Detailed Instructions for Effective Cleaning
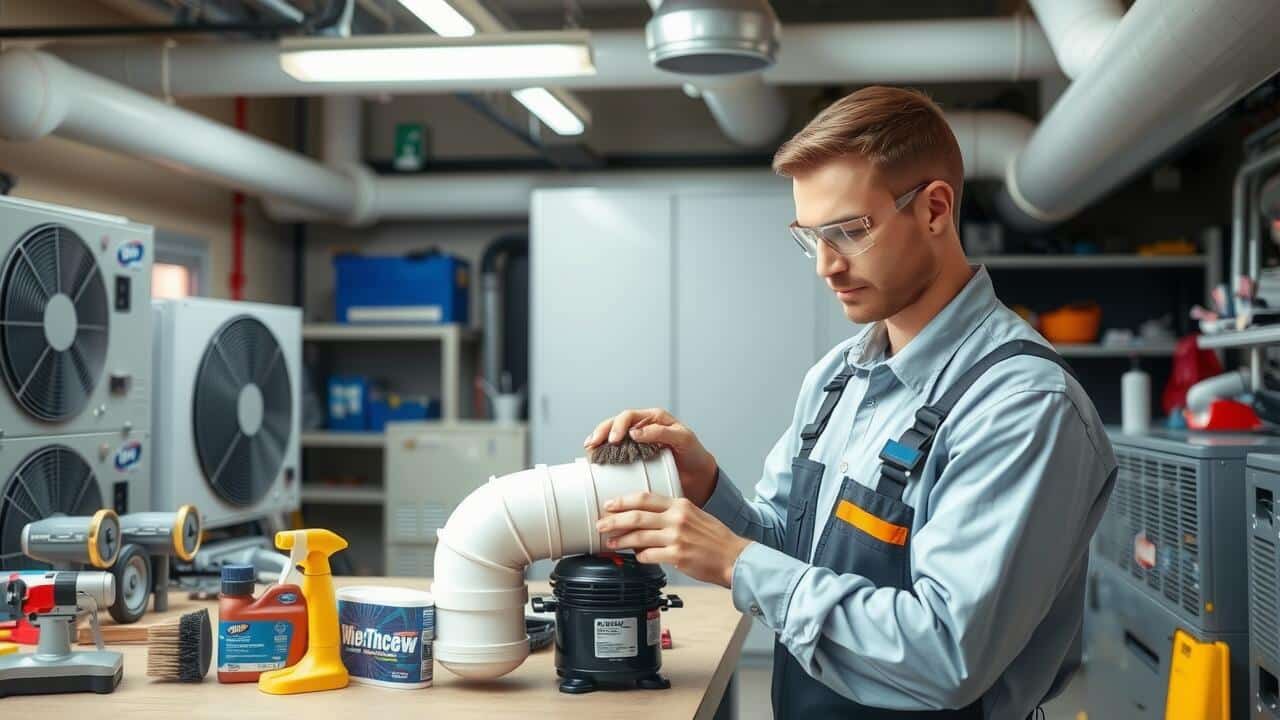
To begin the Blower Motor Cleaning process, ensure the power is disconnected to prevent any accidental starts while working. Remove the access panel on the blower compartment using a screwdriver. Carefully pull out the blower motor assembly, taking note of how it is positioned. This will help during reinstallation. Using a soft brush, gently remove dust and debris from the motor and surrounding areas. Pay special attention to the fan blades, as they can collect significant grime over time.
Next, utilize a vacuum with a brush attachment to clean any remaining dirt from the blower housing. If the motor itself appears particularly dirty, consider using a non-corrosive cleaner specifically designed for electrical parts. Apply the cleaner to a cloth rather than directly to the motor. Wipe down all accessible surfaces, ensuring no moisture remains before reassembling the blower motor. Once everything is clean, reinstall the blower motor assembly in the reverse order of removal, ensuring all connections and screws are secure before restoring power to the unit.
Safety Precautions to Consider
Before undertaking any blower motor cleaning, ensure that the power source is completely disconnected. This includes turning off the circuit breaker to prevent any accidental startup during the cleaning process. Wear appropriate personal protective equipment, such as gloves and safety goggles. These items protect against debris and dust that may be released while cleaning, reducing the risk of injury.
Work in a well-ventilated area to avoid inhaling any dust or contaminants. Keep all cleaning tools and materials organized and within reach to minimize unnecessary movement. If you are unfamiliar with the components of the HVAC system, consult the manual or seek guidance. Understanding the blower motor’s placement and connections aids in performing a thorough and safe cleaning process.
Important Tips to Avoid Injuries
When engaging in blower motor cleaning, prioritizing safety is essential. Always turn off the power to the HVAC system before starting any cleaning procedure. Disconnect the power source to prevent unexpected activation while you’re working. Wearing protective gear, such as gloves and goggles, can help shield against debris and dust that may be released during the cleaning process. Ensure your workspace is well-lit and organized to reduce the risk of accidents.
It’s also crucial to be mindful of the tools and equipment used for blower motor cleaning. Use only the appropriate brushes and cleaners designed for HVAC systems. Avoid excessive force that could damage the motor components. If the blower motor appears heavily soiled or if you’re unsure about handling specific tasks, consider seeking professional assistance to prevent personal injury or further equipment damage. Taking these precautions can help create a safer environment for your cleaning project.
Professional Help vs. DIY Cleaning
When considering whether to tackle blower motor cleaning on your own or to seek professional assistance, it’s essential to evaluate your comfort level with HVAC systems. DIY cleaning can be a cost-effective option for those with basic mechanical skills. Homeowners should ensure they have the right tools and follow proper procedures to avoid damaging the motor or other components. Comprehensive guides are available, making it more accessible for those willing to put in the effort.
On the other hand, some situations warrant the expertise of an HVAC technician. If the blower motor is particularly dirty or if there are signs of wear and tear, professional help might be the best route. Technicians not only possess specialized tools but also have experience that can ensure thorough blower motor cleaning while addressing any underlying issues. This can lead to better performance and longevity of the HVAC system, providing peace of mind for the homeowner.
When to Call an HVAC Technician
When tackling blower motor cleaning, there are specific circumstances that indicate it may be time to call in a professional HVAC technician. If you notice significant debris accumulation or persistent performance issues despite regular maintenance, the problem could extend beyond simple dirt buildup. A technician can assess whether other underlying issues might be affecting the unit’s function, ensuring a thorough diagnosis.
Additionally, if you feel uncertain about safely disassembling and cleaning your blower motor, it is wise to seek professional assistance. HVAC technicians have experience and access to the necessary tools to perform blower motor cleaning effectively. This can help prevent potential damage to the motor or other components and ensure the longevity of your heating and cooling system.
FAQS
How often should I clean my blower motor?
It is generally recommended to clean your blower motor at least once a year, ideally before the heating or cooling season begins. However, if you notice reduced airflow or unusual noises, you may need to clean it more frequently.
What tools do I need to clean my blower motor?
Common tools for cleaning a blower motor include a vacuum cleaner with a brush attachment, a soft cloth, a screwdriver, and possibly a cleaning solution designed for HVAC systems. Always check your manufacturer’s guidelines for specific recommendations.
Can I damage my blower motor if I clean it incorrectly?
Yes, improper cleaning techniques can lead to damage, such as dislodging electrical connections or harming internal components. It’s essential to follow the correct procedures and safety precautions to avoid any potential harm.
What are the signs that my blower motor needs cleaning?
Signs that your blower motor may need cleaning include decreased airflow, strange noises while the system is running, and an increase in energy bills. If you notice these issues, it may be time to clean the blower motor.
When should I consider hiring a professional for blower motor cleaning?
You should consider hiring a professional HVAC technician if you are uncomfortable performing the cleaning yourself, if there are significant issues with the blower motor, or if cleaning does not resolve airflow problems. Professionals have the experience and tools to handle complex issues safely.