Table Of Contents
Step-by-Step Guide to Installing Ductwork
Start by measuring the space where the air duct installation will take place. Accurate measurements are crucial for ensuring that the ductwork will fit properly and function efficiently. Gather the necessary materials such as duct pipes, connectors, and hangers. It is advisable to use insulated ducts for better energy efficiency. Create a detailed layout plan that includes the locations for supply and return ducts, taking into account the balance of airflow throughout your space.
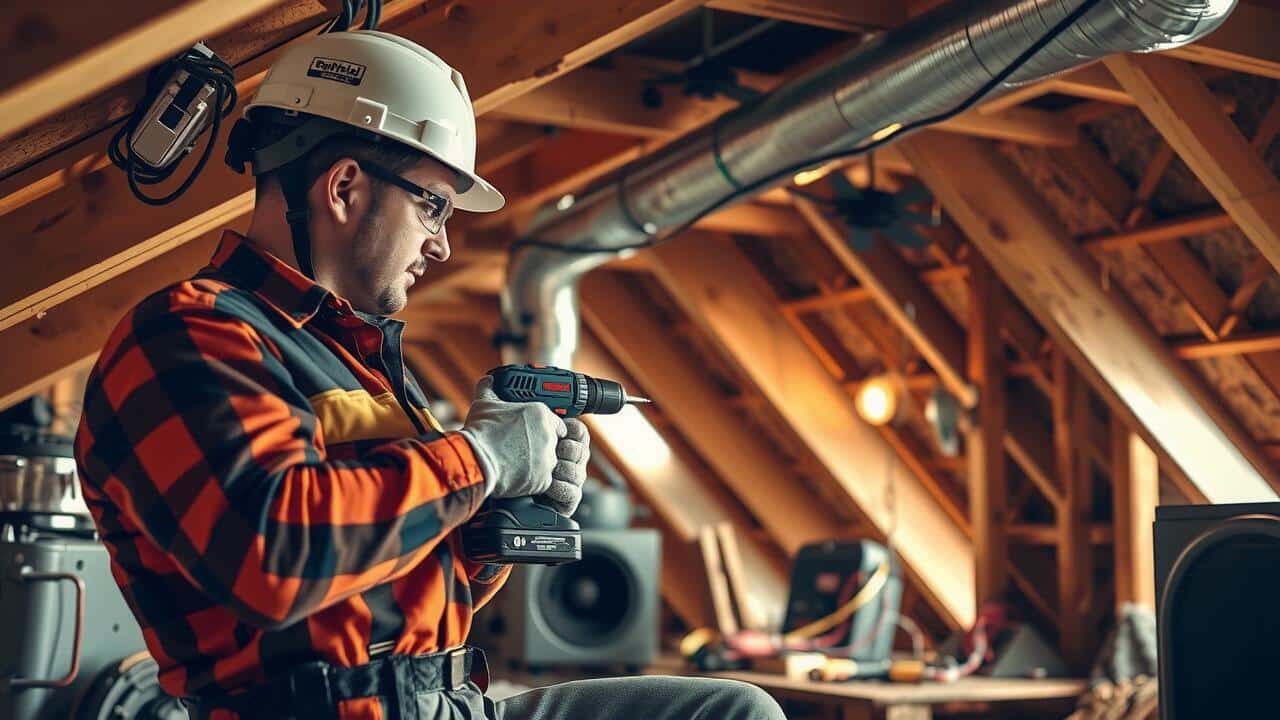
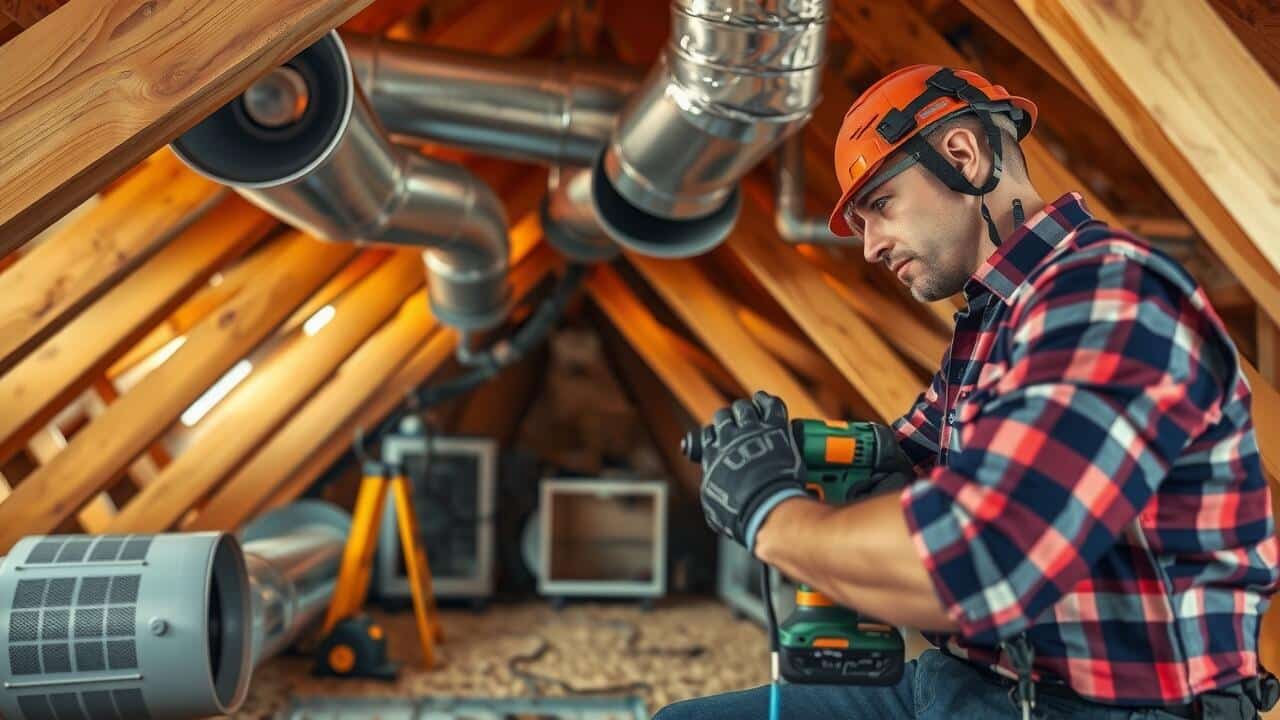
Once the planning is complete, cut the duct pieces according to the measurements. Assemble the ducts by connecting them with appropriate fittings, ensuring all joints are sealed well to prevent air leaks. Install the ductwork by securing it to the framing with the hangers, maintaining a slight incline if needed to facilitate drainage. After installation, double-check all connections and seals, as any gaps can significantly reduce system efficiency.
Planning and Implementation Process
Before beginning the air duct installation process, careful planning is crucial to ensure efficiency and effectiveness. Start by assessing the layout of your space. Identify existing frameworks, such as walls, ceilings, and any obstacles that may interfere with duct placement. Calculating the required duct sizes and the optimal route for airflow helps prevent potential issues later. It’s beneficial to sketch a detailed plan that outlines the intended placement of all ducts, registers, and vents. This preparation provides a clear roadmap for the installation and allows you to visualize how the system will connect to your HVAC unit.
Once planning is complete, focus on the implementation phase. Gather all necessary materials and tools to avoid interruptions. Ensure that the ductwork components fit your design specifications precisely. During installation, follow the planned path carefully, securing the ducts properly to prevent leaks. Regular checks for alignment and tight connections will contribute to a more efficient system. Adhering to safety guidelines while handling tools and materials is vital for both personal safety and the integrity of the air duct installation.
Common Mistakes in DIY Ductwork Installation
One of the most significant mistakes in DIY air duct installation is failing to create a comprehensive plan before starting the project. Many homeowners dive into the process without a clear understanding of the required layout, leading to inefficiencies in airflow and potentially costly modifications later on. Properly measuring and sketching out the ductwork configuration can prevent issues such as tight bends or excessive lengths that may reduce the system’s overall performance.
Another common error involves neglecting to seal the connections adequately. Gaps or leaks at the joints can cause significant air loss, undermining the effectiveness of the heating or cooling system. Many DIYers might not consider the impact of these small oversights until they notice a rise in energy bills or inconsistent temperatures throughout their home. Ensuring that all connections are properly sealed with mastic or metal tape is crucial for optimal efficiency and longevity of the system.
Pitfalls to Avoid for a Successful Setup
One common pitfall in air duct installation is underestimating the size and layout of the ducts needed for optimal airflow. Many DIY enthusiasts mistakenly believe that they can cut corners by using smaller or improperly shaped ducts. This not only hampers the efficiency of the heating and cooling system but can also result in increased energy costs over time. Ensuring that you have the right measurements and understanding the specific requirements of your home’s layout is crucial for effective performance.
Another mistake often made during air duct installation is neglecting to secure the connections properly. Loose fittings can lead to air leaks, substantially reducing the system’s efficiency and ultimately leading to a drop in indoor air quality. It’s essential to take the time to seal all joints and connections adequately and to inspect your work periodically throughout the installation process. Investing attention in these details will help avoid unnecessary issues down the road.
Insulation and Ductwork Efficiency
Proper insulation plays a critical role in the efficiency of your ductwork, minimizing energy loss as air travels through the system. Well-insulated ducts ensure that heated or cooled air maintains its desired temperature, preventing unnecessary strain on your HVAC system. During air duct installation, using materials with high thermal resistance can significantly enhance energy efficiency, reducing heating and cooling costs over time. This attention to insulation can also improve the overall comfort level in your home.
Additionally, uninsulated or poorly insulated ducts can lead to significant energy waste, causing your heating and cooling system to work harder than necessary. It’s essential to inspect and select the right insulation type for your ducts, considering factors like location and climate. Sealing gaps and ensuring a tight fit during air duct installation further aids in maintaining efficient airflow, contributing to better indoor air quality as well.
Importance of Proper Insulation
Proper insulation is crucial for maintaining the efficiency of your HVAC system. Without adequate insulation, air ducts can lose conditioned air, leading to increased energy consumption and higher utility bills. Insulated ducts help ensure that the air remains at the desired temperature as it travels through the system. During Air Duct Installation, it is vital to choose the right insulation material to maximize efficiency and performance.
Additionally, insulation acts as a barrier against external elements, preventing the infiltration of moisture and dust. Poor insulation can lead to condensation, promoting mold growth and reducing indoor air quality. When planning your Air Duct Installation, investing time in selecting appropriate insulation can enhance the lifespan of your system while improving the comfort of your living space.
FAQS
Can I install my own ductwork without any prior experience?
While it is possible to install your own ductwork, prior experience or knowledge in HVAC systems and duct design is highly recommended to ensure efficiency and safety.
What tools will I need for a DIY ductwork installation?
Essential tools for DIY ductwork installation include tin snips, a duct tape, a level, a measuring tape, and possibly a rivet gun or screws, depending on the type of ductwork you choose.
How do I determine the correct size of ductwork for my home?
To determine the correct size of ductwork, you will need to calculate the airflow requirements based on the size of your home and the heating and cooling load, often using a Manual J calculation.
What are the common mistakes to avoid when installing ductwork?
Common mistakes include improper duct sizing, poor sealing of joints, inadequate insulation, and incorrect placement of ducts, which can lead to energy inefficiency and airflow issues.
Is insulating ductwork really necessary?
Yes, insulating ductwork is crucial as it helps maintain the temperature of the air traveling through the ducts, improves energy efficiency, and prevents condensation and moisture buildup.